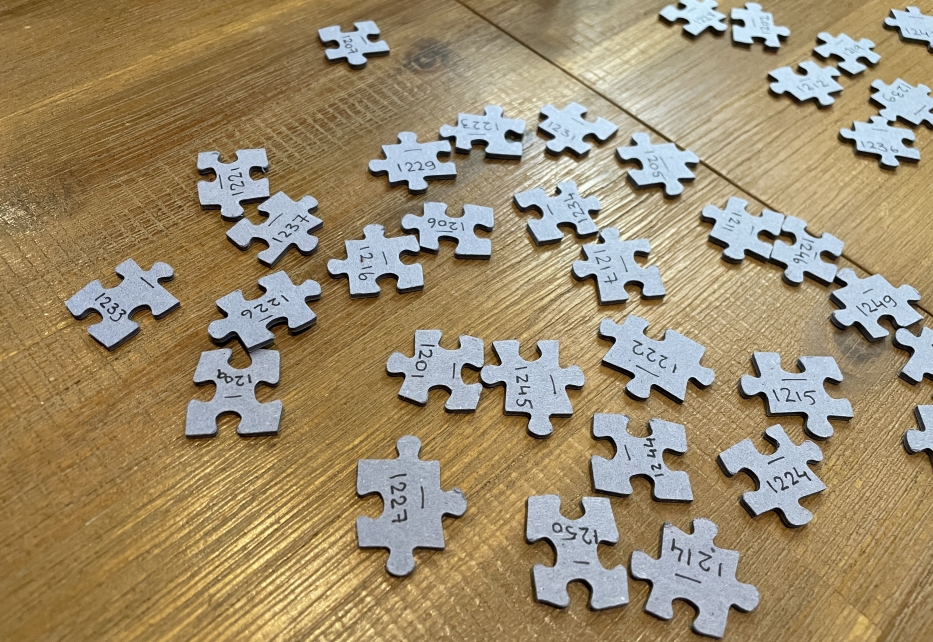
World's hardest jigsaw
Assembling a unicolor 2000 piece puzzle using computer vision.

Project Description
I explore the problem of large space constraints satisfaction with mininal, noisy information - a topic important in Operations Research and scheduling amongst others. The question is: knowing dispersed, noisy information, in which order can you arrange something to result in a most coherent solution. To test some ideas on an application, I have decided to build a program that uses computer vision techniques to solve jigsaw puzzles using only the shapes of the edges. I have also always thought it would be very cool to display a single color Jigsaw puzzle. You can find the code repository on Github, or if you feel like solving this problemyourself, you can find the dataset (scanned copies of the jigsaw puzzle pieces, raw) here.
Skills
Computer Vision, Features Description, Feature Search, Conditional Probability, Multiprocessing, Profiling
Tools
Python, Jupyter, cv2, numpy, sympy, scikit-learn, Pillow, cProfile
Preparation Process
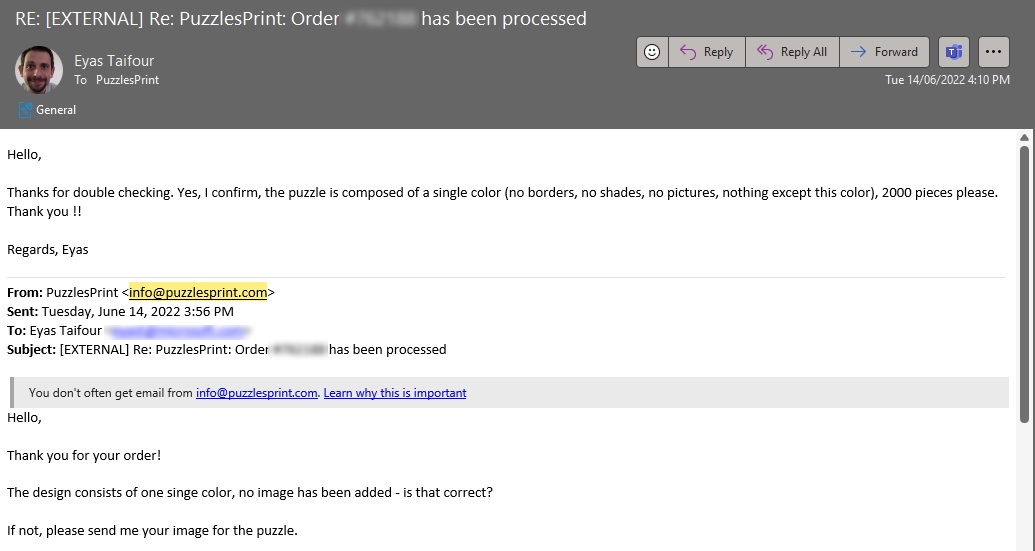
I’ve decided to purchase a 2000 pieces custom Jigsaw puzzle, from the first online vendor I could find who could provide that size. They had good ratings online, and they provided a nice web page tool which allowed me to pick a custom background color and add a photo. Since my customisations were very scarce, their customer care department reached out to make sure that I haven’t made a mistake.
Indexing, Digitizing
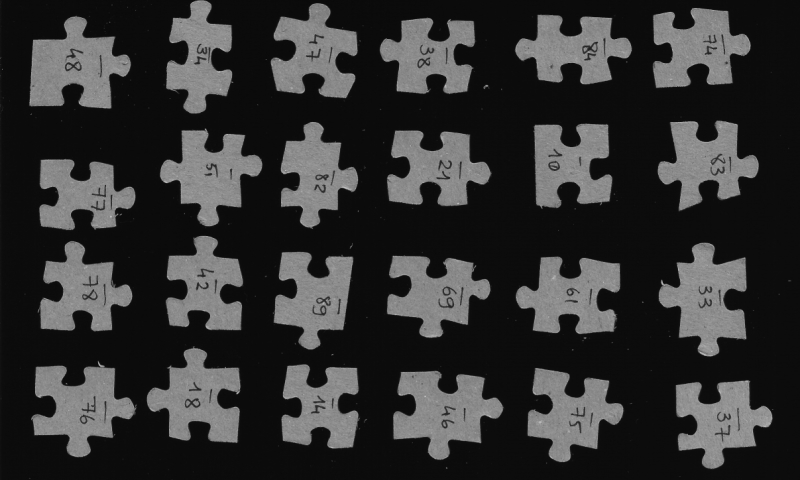
I was unaware if those pieces were unique or not, or if they were correctly assemblable. After a bit of pondering, I’ve decided to index, scan, and organize these pieces. The process was:
- Buy a 0.2 mm pen
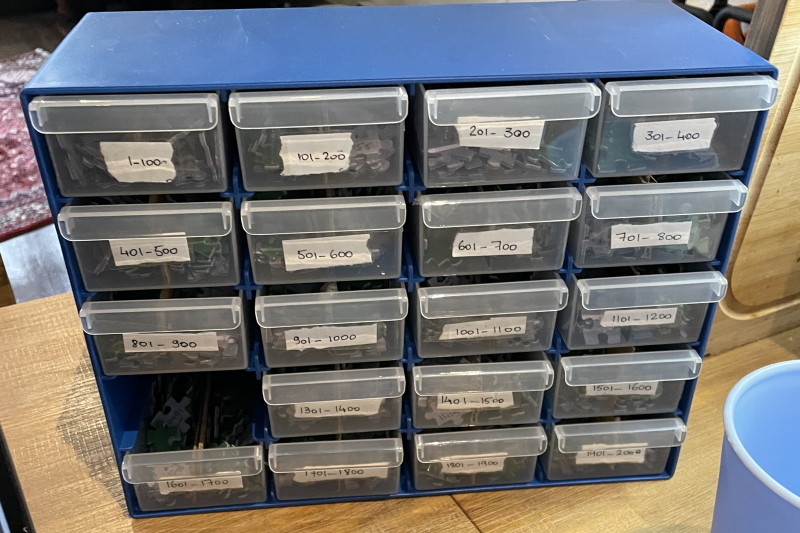
- Buy a 20 drawers cabinet from Bunnings
- Add a little sticker to each drawer of that cabinet, starting at 1:100, 101:200, 201:300, etc..
- Number each piece sequentially, starting from 1
- For each numbered piece, add a horizontal line above. This would then help define the baseline orientiation of the piece, and help resolve future problems (i.e. am I looking at a ‘9’ or an inverting ‘6’)
- Once all the pieces were numbered, put a batch of ~50 aligned pieces on the flatbed scanner
- Turn the lights off - you want to only rely on the flatbed scanner’s light source and not the ambient light in the room, since you only want the surface to be scanned (and not the depth of each puzzle piece)
- Scan the pieces - single channel BW
- Store the physical pieces in the appropriate drawer
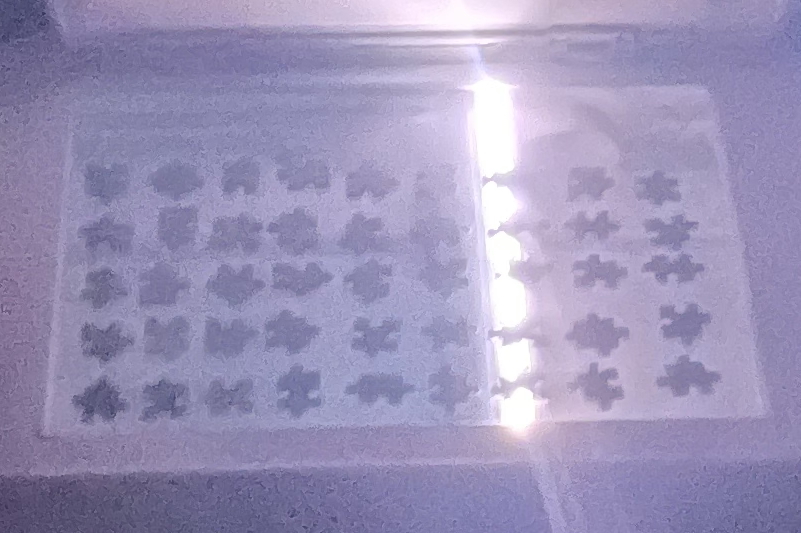
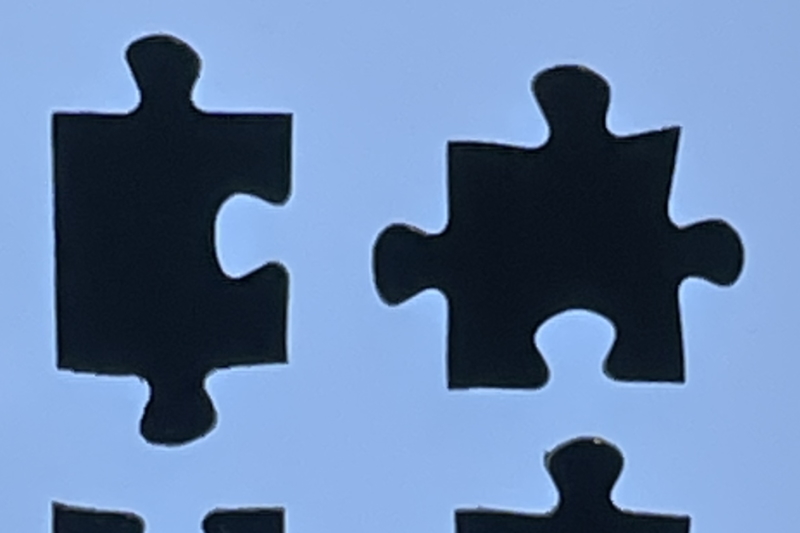
With this done I now had few JPGs of the 2000 pieces, and my task now was to identify the pieces, and ‘glue them’ together.
Assembling
As soon as I was done from the tedious task of indexing, scanning, and storing all those pieces, it was time to start the real work. My thought process at this stage was not very clear and I knew the first step I had to do was to find the puzzle pieces. To do this, I opted to leverage OpenCV’s existing libraries which proved to be useful as it allowed me to blur, find thresholds, and detect contours quickly and easily. I’ve referred to the documentation and book a textbook from Amazon Computer Vision: Algorithms and Applications which I highly recommend.
Since the scanned copies had noise (dust) and since I had written the sequence of each piece, openCV returned a lot of connected components but I was only interested in the larger ones. To find these large ones, without hardcoding anything, I’ve relied on sklearn.cluster.KMeans with n_clusters=2 to help me find the ‘large components - The resulting bounding box allowed me to divide this view into smaller chunks.
To assemble, the process was to :
- Find large components on each sheet of paper using
cv2.connectedComponentsand using this information to cut a bounding box - Draw individual contours in a new numpy array using
cv2.drawContours - Look for the value closest to the array’s corners, to determine the piece’s corners. This populated the list of edges quickly, but incorrectly
- Build a GUI using OpenCV that allowed me to reposition the location of the corners
- Codify Top, Right, Down, Left into 0, 1, 2, 3 and rotations of 90, 180, 270 (clockwise) to 0, 1, 2
- Cut each piece into 4 sides, and rotate the sides n degrees to have them all parallel to a horizontal line using
sympy.geometry.geo- any geometric modifications made to individual pieces were saved to a custom python dictionary that I’ve built.
Calculating features
I played around with the calculations of individual features and vectorized them. Surprisingly, the least descriptive feature was the most performing. my winning choice was [width, height, x_loc_of_higher_point]. I then calculated the distance of each vector vs. the remainder using a leangthy loop that I distributed using python’s multiprocessing package and profiled using cProfile - this helped me tremendously understand where there were bottlenecks in my code.
Solving the complete puzzle
Using conditional probability, I started looking for pieces that could satisfy multiple constraints at once, updating my beliefes at every point. Over time, assembling the puzle became a lot easier and less prone to recommendation errors.
